Step-by-Step Guide To CD Manufacturing
The process of making a CD begins with a data master. A data master has the program (either digital CD audio or computer files) as it will be on the manufactured disc.
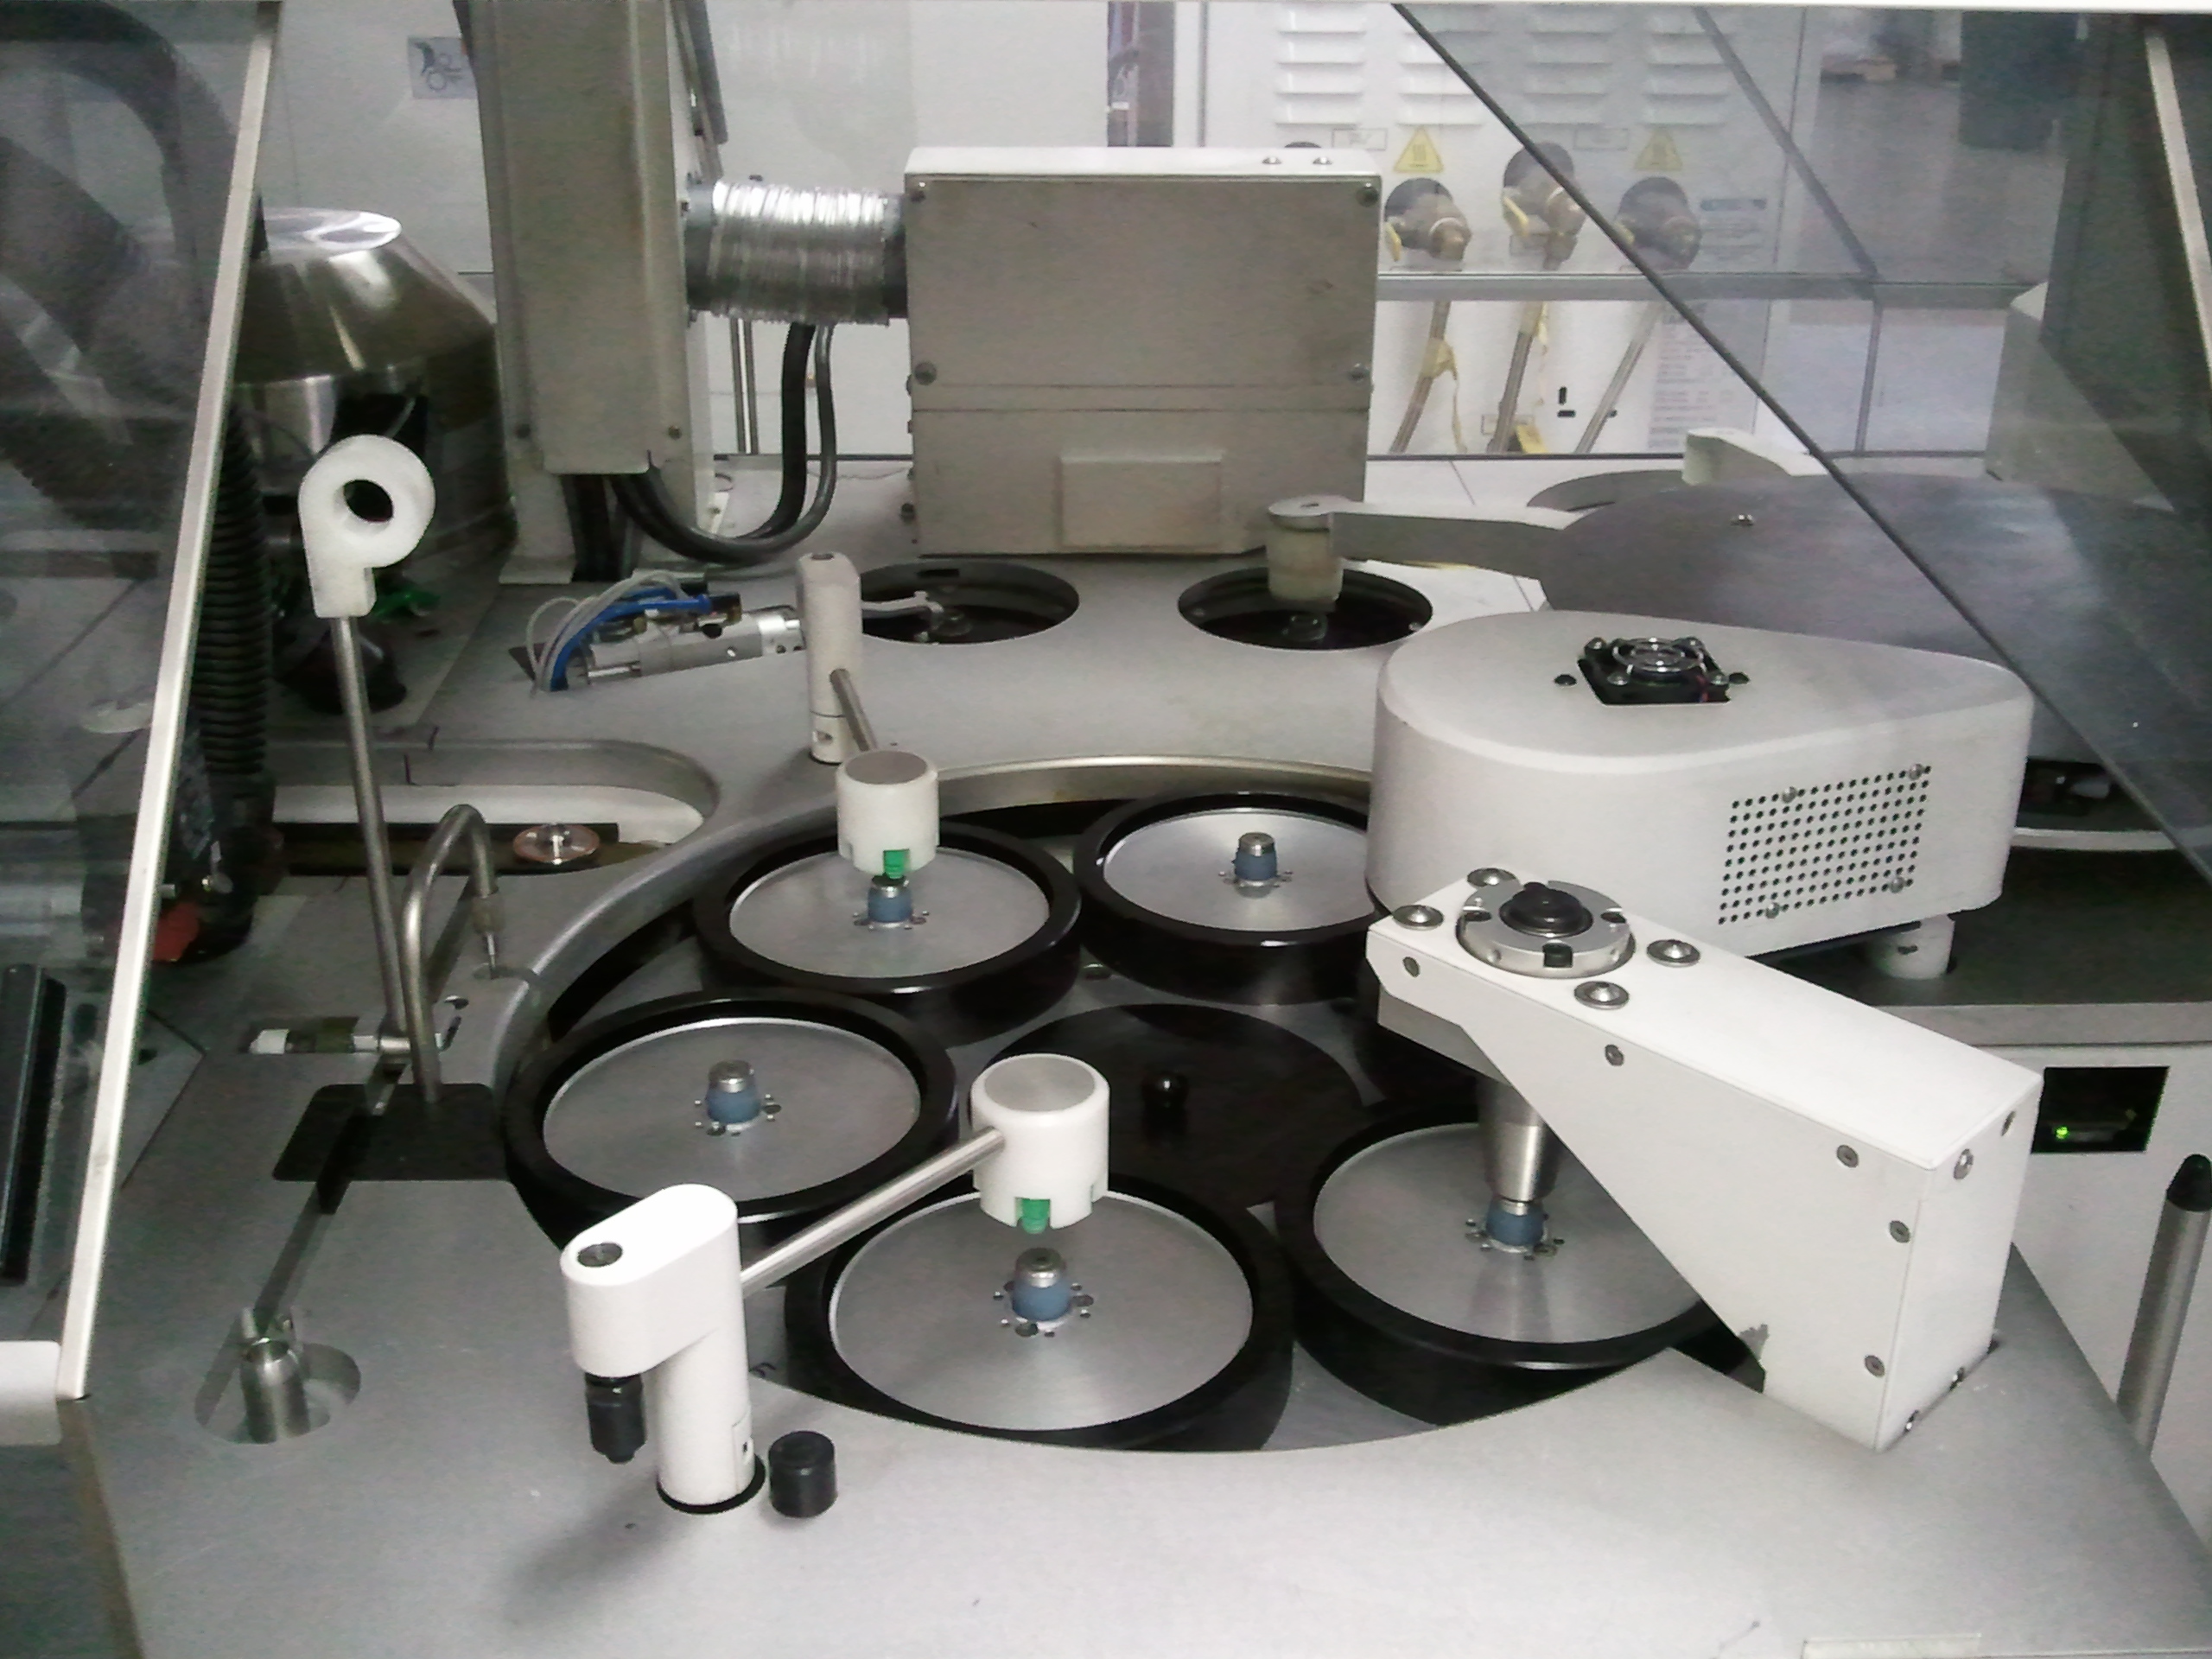
This master is used to make a stamper (typically a nickel alloy) that has the inverted pattern of pits and lands, which contain the data. This stamper is attached to one side of a split-cavity mold.
Molten polycarbonate is squeezed into the mold at precise speed and pressure, then cooled. As the polycarbonate cools, additional pressure is placed on it by the mold cavity, pressing the pattern of pits and lands into the top-surface of the disc.
The clear polycarbonate disc is then cooled until it is firm enough to hold its shape and then sent down a cooling tunnel to a metallizer. In the metallizer, a micro-thin layer of aluminum, just thick enough to be fully reflective to red laser light is deposited on the disc by a process known as sputtering.
The disc is then coated in a thin layer of lacquer and spun at high speed to smooth the lacquer. The lacquer protects the fragile aluminum coating from physical damage such as scratches and from oxidation. The lacquer is flash-cured under intense UV light and then taken to a separate machine to have the label printed.
Step-by-Step Guide To DVD Manufacturing
Like CDs, the making of a DVD begins with a data master. DVD data masters are somewhat different, because DVDs can have up to two sides, and up to two layers on each side, so the DVD data master can be as many as four separate discs.
There are many formats for DVDs, but the most common are DVD5 and DVD9. DVD9 has one side and two layers of data, so must have two stampers made, one for each layer.
The stampers are loaded into two molders. Each molder will press a “half-disc”, one for the top, and one for the bottom, each with data. The two halves are moved separately to metallizers. The metallizer for the top half will deposit a fully reflective aluminum layer similar to a CD (though on the bottom side of the half-disc).
The metallizer for the bottom half-disc deposits a semi-transparent layer on the top-side of the half-disc. Lacquer is applied to the bottom half-disc, then the top half-disc is put on top. Air is squeezed out as the two halves are spun together.
When the lacquer is flash-cured in a process similar to that for CDs, the two half-discs are permanently bonded together. When a DVD9 is read, the laser must shift focus between the two layers in order to read from one or the other.
For this reason, the thickness of the lacquer bonding layer must be very tightly controlled. A DVD5 is made in a similar way, but the bottom half-disc is fully reflective, and the top half-disc is (usually) left clear.